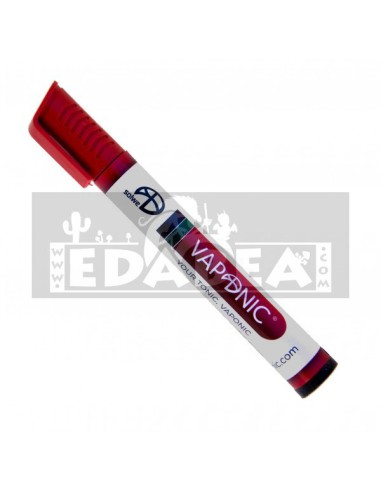
Vaponic Vaporizer
Contents of the Vaponic:
1 Inner Tube with 1 Inner Filter
1 Outer Tube
1 Gray Silicone Connection Piece
1 Nozzle
1 Hollow marker case
1 Black Silicone Cap
1 Multi-purpose tool + 1 yellow silicone ring
Instruction book.
The color may not match the picture.
Instructions for use:
Open the Vaponic and fill the chamber with herb, crumbled or not. With a lighter (preferably torch type), heat between the red line and the end of the tube, without insisting on this point so as not to heat too much, nor do it near the line to avoid burning. Rotate the tube during heating for a more homogeneous vaporization.
Using a classic burner, it is advisable to place the tube just at the end of the blue part of the flame. This is because if it is placed at the end of the yellow part of the flame, the tube will fill with soot. This can be easily solved by cleaning the tube with alcohol.
When we notice steam in the aspiration, or when we see the toasted grass, we will stop heating, and it will be the moment to enjoy the accumulated heat to start the vaporization during one or two puffs. Until that happens, we will continue heating until we reach the vaporization point. If the vapor obtained is very dense and almost like smoke, we will have heated the herb too much, and we will have to stop.
After having tried it several times, it will be very easy to know the time required for optimal heating, taking into account the preferences of each one and according to one's own experience using Vaponic.
The color of the herb will also be a good indicator of the vaporizer temperature: when it turns a golden-brown color, we will have reached the optimal vaporization point. When we see the weed is a brownish-orange shade, the session is over.
Let the Vaponic cool inside the case, without accelerating the process in any way (neither using liquids, nor cold elements...), since doing so could weaken the resistance of the glass, resulting in damage to the glass.


